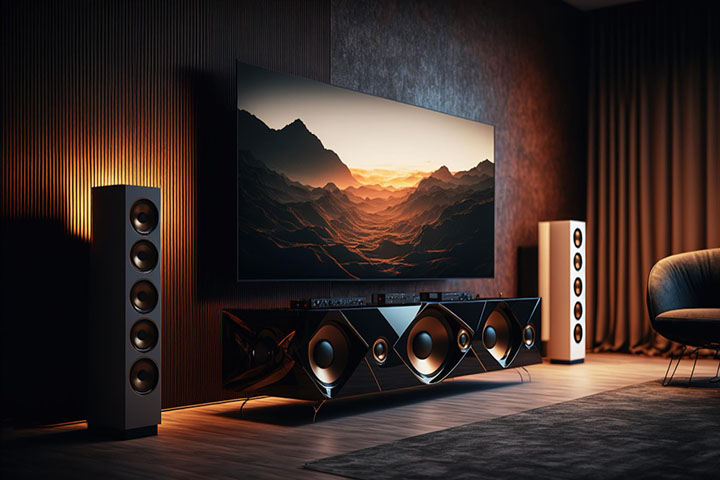
Imagine being enveloped by rich, lifelike sound that transports you into the heart of your favorite movies. This immersive experience hinges on seamlessly executing the steps for how to connect amplifier to home theater system – the powerhouse driving your speaker setup.
However, navigating the labyrinth of connections and settings can leave even seasoned enthusiasts puzzled. Fear not, for this guide is your audio sherpa, leading you through the intricacies with clarity.
Prepare to demystify cable management, decipher input/output terminals, and master advanced techniques like bi-amping. Unveil the secrets to conjuring sound so enveloping that it’ll make your senses tingle.
Whether a novice or expert, you’ll gain the knowledge to unleash your amplifier’s full potential. Let this adventure equip you with the confidence to create an auditory oasis where cinematic dreams become vivid realities. Begin the journey and elevate your home theater to new realms of audio perfection!
How to Connect Amplifier to Home Theater System
Ensuring compatibility
Compatibility between the amplifier and the home theater system is paramount. Mismatched components can lead to subpar sound or damage. First, understand your system’s requirements like number of speakers, power needs based on room size, etc.
Then, select an amplifier that meets or exceeds those specifications in terms of power output, channels, and connectivity options like HDMI and optical inputs. Ensuring compatibility upfront prevents issues down the line.
For amplifiers, look at the number of channels and power rating per channel. The channels should match your speaker configuration (e.g., 5.1, 7.1, etc.). The power rating needs to meet or exceed the speakers’ recommended power handling.
Remember to account for some headroom when choosing the amplifier’s power output. On the home theater side, check if it can accommodate the amplifier’s connectivity requirements, such as HDMI inputs/outputs. Verifying these details is crucial for seamless integration.

Connection and setup
With a compatible amplifier, follow these steps:
- Position it in a well-ventilated area with access to cables.
- Connect each speaker to the binding posts while matching polarities.
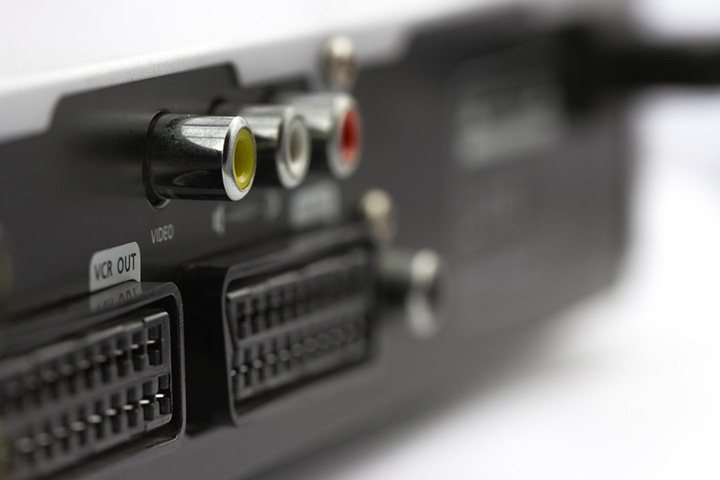
- Link source devices like TV to the amplifier inputs securely.
- Configure settings – select proper inputs and enable processing features.
- Power on and slowly raise the volume.
- Use cable management for a tidy setup.
- Optimize speaker positions if needed.
- Explore advanced amplifier capabilities like bi-amping for an unbeatable experience!
Configuring the System
Speaker configuration
Configuring the speaker settings is crucial for optimal performance. First, assign each speaker to the correct channel for proper bass management and surround sound.
Next, use test tones to adjust the volume level and balance all speakers. Set the crossover frequency based on speaker sizes to determine low-frequency distribution.
Many receivers include bass management that routes deep bass to capable speakers. Run the room calibration routine – it analyzes acoustics and speaker placement to apply corrective EQ settings tailored to your environment.
Exploring advanced options
Beyond speaker setup, modern receivers offer advanced audio enhancements to further elevate your experience. Explore features like dialogue enhancement, virtual surround modes, and EQ presets. To access the settings, most receivers use an on-screen display menu controlled via the remote.
Some models allow configuration through the front panel controls or a web interface from your smartphone/tablet. Work through each menu section, make incremental changes, test the audio, and refer to the manual as needed to dial in your preferred sound.
Testing and Adjustments
Critical listening
Take your time and be methodical when testing and adjusting. Listen to various audio sources like music across genres and movies with immersive sound. Find a distraction-free listening position to critically evaluate details like clarity, separation, bass response, dialogue intelligibility, and surround envelopment.
Make notes on areas needing improvement. It’s crucial to keep an open mind and be willing to spend time on this process. Don’t settle until you achieve a sound you’re truly satisfied with.
Amplifier adjustments
With your observations in hand, start fine-tuning the amplifier settings. Adjust the overall volume level and channel balance. Experiment with different sound modes to find the ideal one for your content preferences.
Use the EQ and tone controls to tweak the frequency response and quickly boost/cut bass or treble as desired. Make incremental changes and re-evaluate after each adjustment. Refer to the amplifier’s manual if confused about any settings. Having a methodical process will yield the best results.

Troubleshooting pointers
If experiencing no sound, verify all connections and ensure the amplifier is powered on. For distortion or noise, lower the volume and check cables. Incorrect channel assignments can often be resolved by checking speaker wire polarity and using test tones.
Uneven bass may require adjusting the subwoofer level/crossover or repositioning the subwoofer. Don’t get discouraged if you encounter issues – troubleshooting is part of the process. Isolate the problem and work through it step-by-step.
Conclusion
With the insights on learning how to connect amplifier to home theater system, you now possess the power to craft an unparalleled audio sanctuary. By mastering cable management, terminals, and techniques like bi-amping, you’ve unveiled the secrets to transcendent sound.
This article has equipped you with the knowledge to unlock your amplifier’s full potential, transporting your home theater into realms of cinematic brilliance. Wield your newfound confidence and conquer any integration obstacles.
Let your favorite movies burst to life with breathtaking depth. We hope this journey has ignited your passion for the pursuit of audio perfection to immerse yourself in acoustic bliss!

